Vape devices are generally reliable, but like any electronic device, they can sometimes develop problems. If your vape suddenly stops working, leaks, or produces weak vapour, it can be frustrating—especially if you’re not sure what’s causing the issue.
The good news is that most vape problems are easy to diagnose and fix once you know what to look for. By following a systematic troubleshooting process, you can identify the problem quickly and avoid unnecessary replacements.
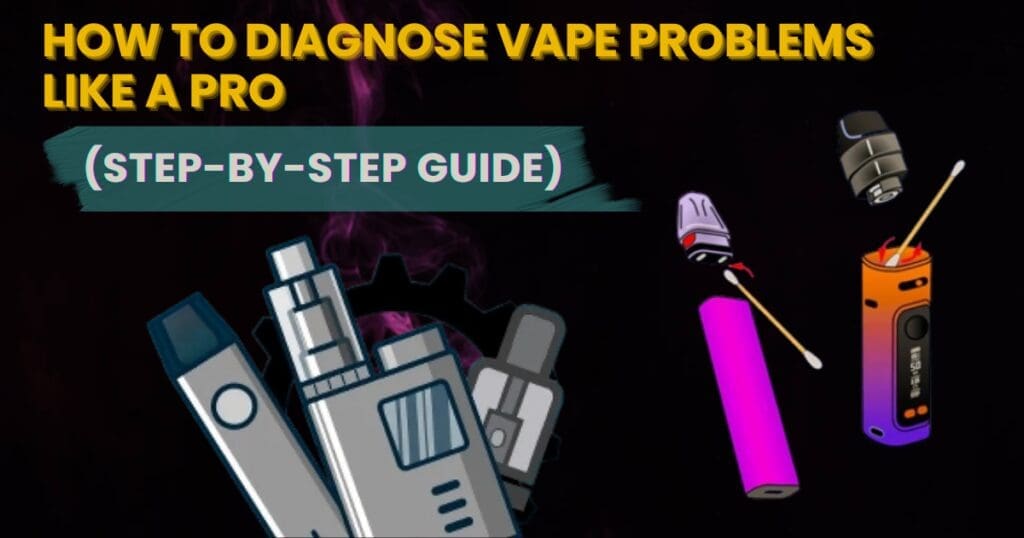
This guide will show you how to diagnose vape problems like a pro, using simple checks that help pinpoint exactly what’s wrong with your device.
Step 1: Identify the Symptoms
The first step in diagnosing any vape problem is to identify what the device is doing—or not doing. Different symptoms usually point to different issues.
Common vape symptoms
- The vape won’t turn on
- The device lights up but doesn’t produce vapour
- Burnt taste when vaping
- Leaking e-liquid
- Weak vapour production
- Gurgling or spitting sounds
- Error messages on the screen
Pay attention to exactly what’s happening, as this will guide your troubleshooting process.
Step 2: Check the Battery
Battery issues are one of the most common reasons a vape device stops working.
Signs of battery problems
- The device will not turn on
- The screen flickers or shuts off
- Weak vapour production
- The device only works while plugged in
How to diagnose
- Fully charge the battery.
- Check the charging cable and adapter.
- If your device uses removable batteries, try replacing them with a fresh pair.
A failing battery can cause inconsistent performance and may need replacement over time.
Step 3: Inspect the Coil
The coil is the heating element responsible for vaporizing e-liquid. Since coils wear out with use, they are often the first component to cause problems.
Signs of a failing coil
- Burnt or unpleasant taste
- Weak vapour
- Gurgling sounds
- Error messages like “Check Atomizer”
How to diagnose
Remove the tank and inspect the coil. If it looks dark, burnt, or clogged, it’s likely time for a replacement.
Most coils typically last one to two weeks, depending on usage and the type of e-liquid used.
Step 4: Examine the Tank and Connections
Your tank connects to the device through the 510 connector, which allows power to reach the coil.
Possible issues
- Loose tank connection
- Dirty connection points
- Misaligned coil
How to diagnose
- Remove the tank from the device.
- Wipe the connection area with a dry cloth.
- Reattach the tank carefully without overtightening.
Even a small amount of dirt or residue can prevent the device from detecting the coil.
Step 5: Check E-Liquid Levels
Running your tank too low can lead to dry hits and burnt coils.
Symptoms of low e-liquid
- Burnt taste
- Weak vapour
- Harsh throat hits
How to diagnose
Simply inspect the tank and refill if necessary. Always ensure the coil’s wick openings are fully saturated with e-liquid.
Step 6: Review Your Wattage Settings
Incorrect wattage settings can significantly affect how your vape performs.
If wattage is too low
- Weak vapour production
- Poor flavour
If wattage is too high
- Burnt taste
- Coil burns out quickly
- Device may shut down for safety
How to diagnose
Check the recommended wattage range printed on the coil and adjust your device settings accordingly.
Step 7: Check Airflow
Airflow controls how much air passes through the tank during inhalation. Poor airflow can make it seem like your vape isn’t working properly.
Signs of airflow issues
- Tight draw
- Weak vapour
- Gurgling sounds
How to diagnose
Locate the airflow control ring on the tank and ensure it is not fully closed. Also check that airflow holes are not blocked.
Step 8: Look for Error Messages
Modern vape devices include built-in safety systems that display error messages when something goes wrong.
Common vape error messages
Check Atomizer – The coil isn’t detected
Atomizer Short – There’s a short circuit in the coil
Ohms Too Low – Coil resistance is outside safe range
Device Too Hot – The device has overheated
These messages are helpful because they often point directly to the problem.
Step 9: Check for Leaks or Flooding
If your vape makes bubbling noises or spits liquid, the coil may be flooded with excess e-liquid.
Possible causes
- Overfilling the tank
- Loose coil installation
- Drawing too hard while vaping
How to diagnose
Remove the tank and check for excess liquid in the coil chamber. Clearing the chamber and reinstalling the coil usually resolves the issue.
Step 10: Reset the Device
Sometimes vape devices experience minor software glitches.
How to reset your vape
For devices with removable batteries:
- Remove the batteries.
- Wait a few minutes.
- Reinsert the batteries and turn the device back on.
This simple reset can fix minor chipset issues.
When the Problem Might Be the Device Itself
While most issues are caused by coils or settings, sometimes the device itself may be damaged.
Signs of hardware failure
- The device will not turn on even after charging
- The screen stays blank
- The charging port is damaged
- The 510 connection is broken
- The device overheats frequently
If this happens and your device is still under warranty, it’s best to contact the retailer or manufacturer.
Pro Troubleshooting Checklist
When diagnosing vape problems, professionals usually follow a quick checklist:
- Confirm the device is turned on
- Charge the battery fully
- Replace the coil
- Clean the 510 connection
- Check airflow settings
- Verify wattage settings
- Inspect the tank for leaks
Following these steps systematically makes it much easier to find the cause of the problem.
Frequently Asked Questions
Why is my vape lighting up but not producing vapour?
This usually means there’s a coil or connection issue. Replacing the coil and cleaning the tank connection often solves the problem.
Why does my vape taste burnt?
A burnt taste typically indicates that the coil wick has burned or the coil isn’t receiving enough e-liquid.
Why does my vape leak after refilling?
Leaking can occur if the tank is overfilled, improperly assembled, or has worn seals.
How often should vape coils be replaced?
Most vape coils last between 1–2 weeks, depending on usage and the type of e-liquid used.
Final Thoughts
Learning how to diagnose vape problems like a pro can save you both time and money. Most issues are caused by simple factors such as worn coils, incorrect settings, or loose connections.
By checking your battery, coil, tank, and settings step by step, you can quickly identify the problem and get your vape working again.
Regular maintenance—like cleaning connections, replacing coils, and using proper settings—will also help prevent many common vape issues in the future.